Showing posts with label easy. Show all posts

Wednesday, April 2, 2014

Pressure cooker experiments


Pressure cooked Quince

The idea was to start with a raw quince, pressure cook it with butter and brown sugar and end up with nice soft, well-cooked quince... And it didn't really work. I think it was a question of time and maybe I need to add more liquid... I'll try again.


Pressure-cooker Garlic Confit

This was far more successful. I make two versions; one out of fermented garlic, and one out of raw fresh green garlic. I added butter to the olive oil in the fermented garlic version, and balsamic vinegar to the fresh garlic one. Both worked beautifully at full pressure cooked for 1 1/2 hours.


Sunday, March 30, 2014

Blood Orange Syrup & Vinegar

I was given a small bag of blood oranges and a grapefruit from a friend's yard last week. And not wanting to waste such a gift (one of my favorite aspects of living in San Diego is all the fresh fruit available for free or nearly so. More to come on that subject...) I made some blood orange syrup and with the rinds I started a batch of blood orange vinegar.

Blood Orange syrup

6-8 blood oranges
1 small grapefruit
4 key limes (or any limes)
1 cup brown sugar

I juiced all the citrus and ended up with about 400ml (about 1.75 cups). I strained the juice in to a non-reactive pan, stirred in the sugar and brought it to a boil. I simmered for 5 minutes, then strained again into small canning jars. Wiped the rims, put the lids and bands on, then processed in a water bath for 10 minutes.

AND...

*Preview of my Fermentation Class, April 17th at the Center for Living Peace, Irvine, CA*

With the citrus skins I started a batch of blood orange vinegar.

Blood Orange Vinegar

Rinds from all the citrus above
1 cup brown sugar dissolved in 3 cups of water

Pack the rinds in a large, clean glass jar. Pour over the sugar water, and add enough water to cover the rinds completely. Cover with a double piece of cheese cloth secured with a rubber band. Store in a cool dark place and check weekly. After a few days you should see bubbles when you move the jar. This means that the sugar is fermenting which is what you want. When the bubbles cease, add 1/4 cup non-pasteurized apple cider vinegar, recover with the cheesecloth and return to the cupboard. Now the alcohol will be converted in to acetic acid, aka vinegar. Filter and strain into bottles, close with a cork.

Fresh Pasta, Tomato sauce and Chicken Cutlets

** Preview of my Pasta Class, June 26th at the Center for Living Peace, Irvine, CA


New Pasta Roller for my KitchenAid Mixer


So after many many years of using the old-fashioned, hand crank pasta makers I have finally come into the 20th Century (yes, these are not new by any means.) Because I need or the roller to be easily transportable and usable in a variety of settings, including those lacking a true "ravioli" table like my grandmother, Mimi, had, I finally decided to go electric.

It arrived around 4 PM and I had pasta dough rolling through it about 30 minutes later!

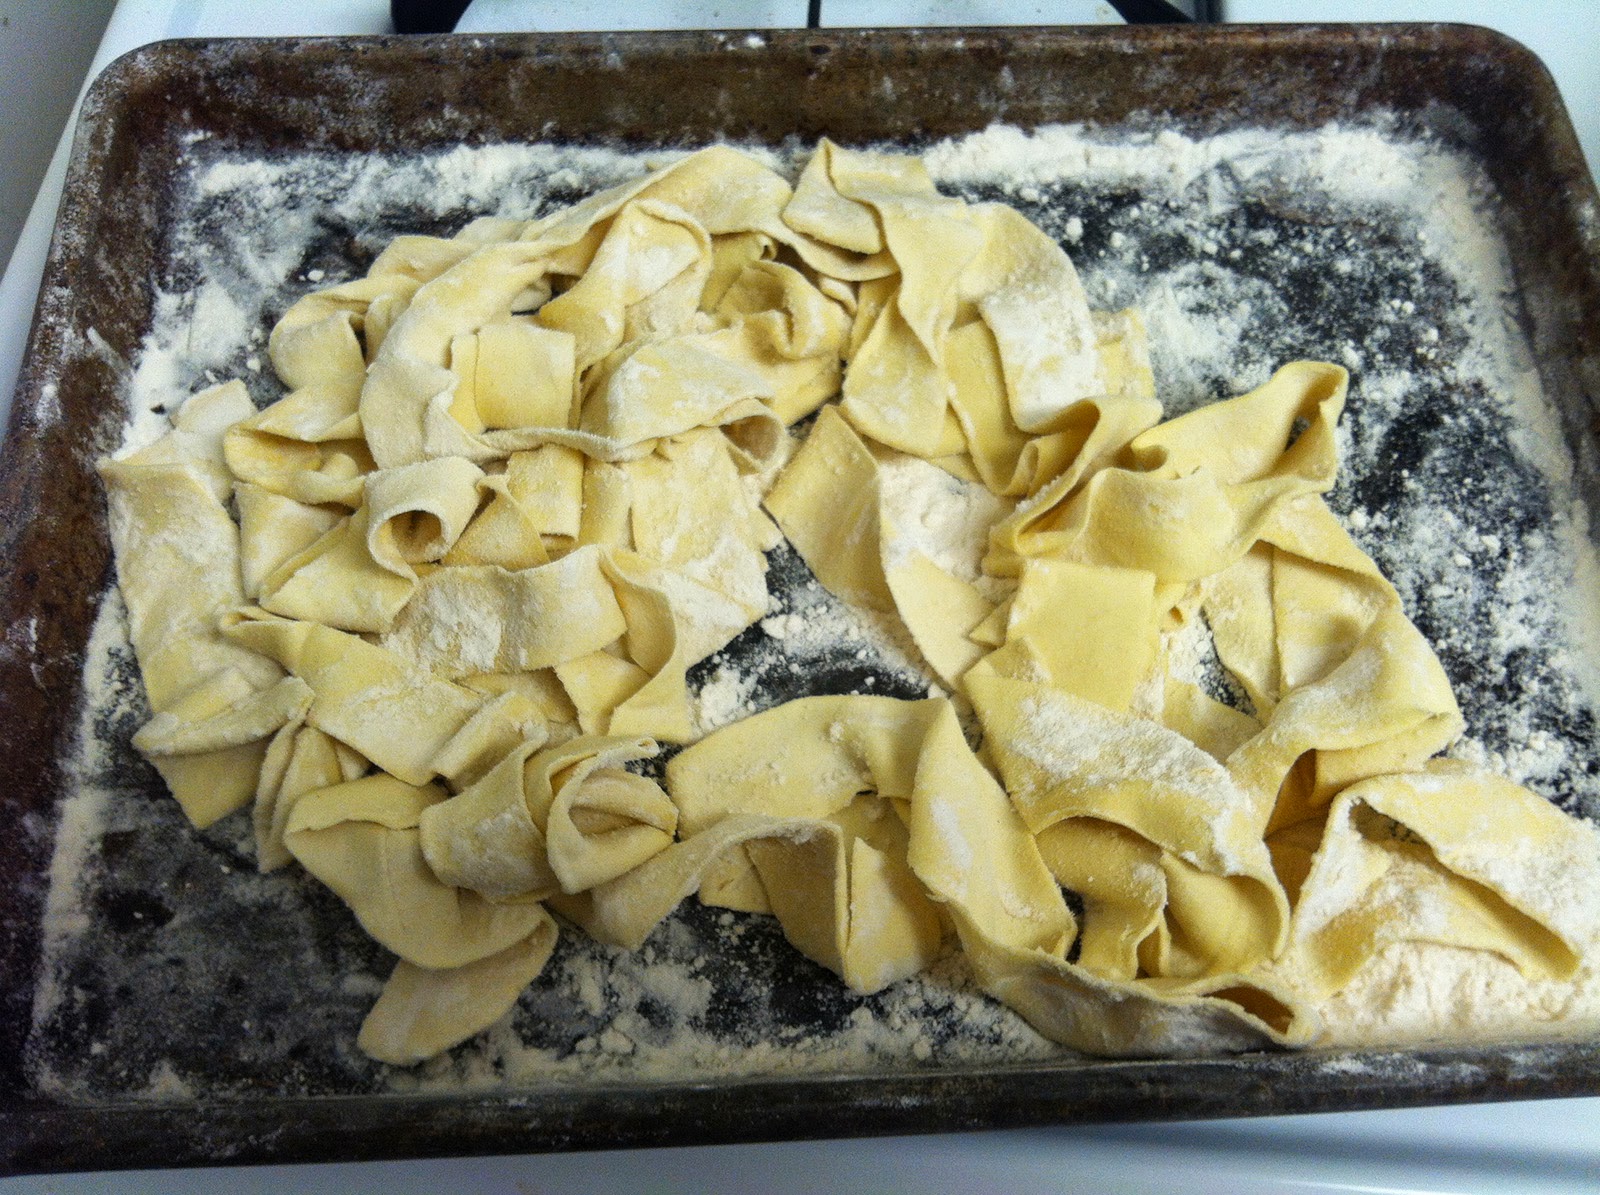
Rolling out dough can be a bit daunting. Over the years, I've learned a few tricks to help. First after making the dough rest for 30 minutes or so. Don't put it in the fridge or you'll have to then wait for it to warm up before rolling it out. Cut a piece just larger than an egg. Set the rollers to 1, the thickest setting, and start the machine (or crank the old-school one) Feed the dough in slowly. It won't look like pasta yet; more like a slightly flattened lump. Fold the dough in half, flour heavily, and feed through again. Repeat this until it smooths out. Now go to setting 2 and repeat. For noodles I usually go to 4 for filled pasta I go to 5 or 6 depending on my dough that day. When you're happy with the piece, flour both sides heavily, and fold in half, then quarters, then eighths. them cut the pasta to the desired width. For this wide noodle I opened the pieces up and curled them into nests, dusted with more flour. I froze half the batch on a small sheet pan.
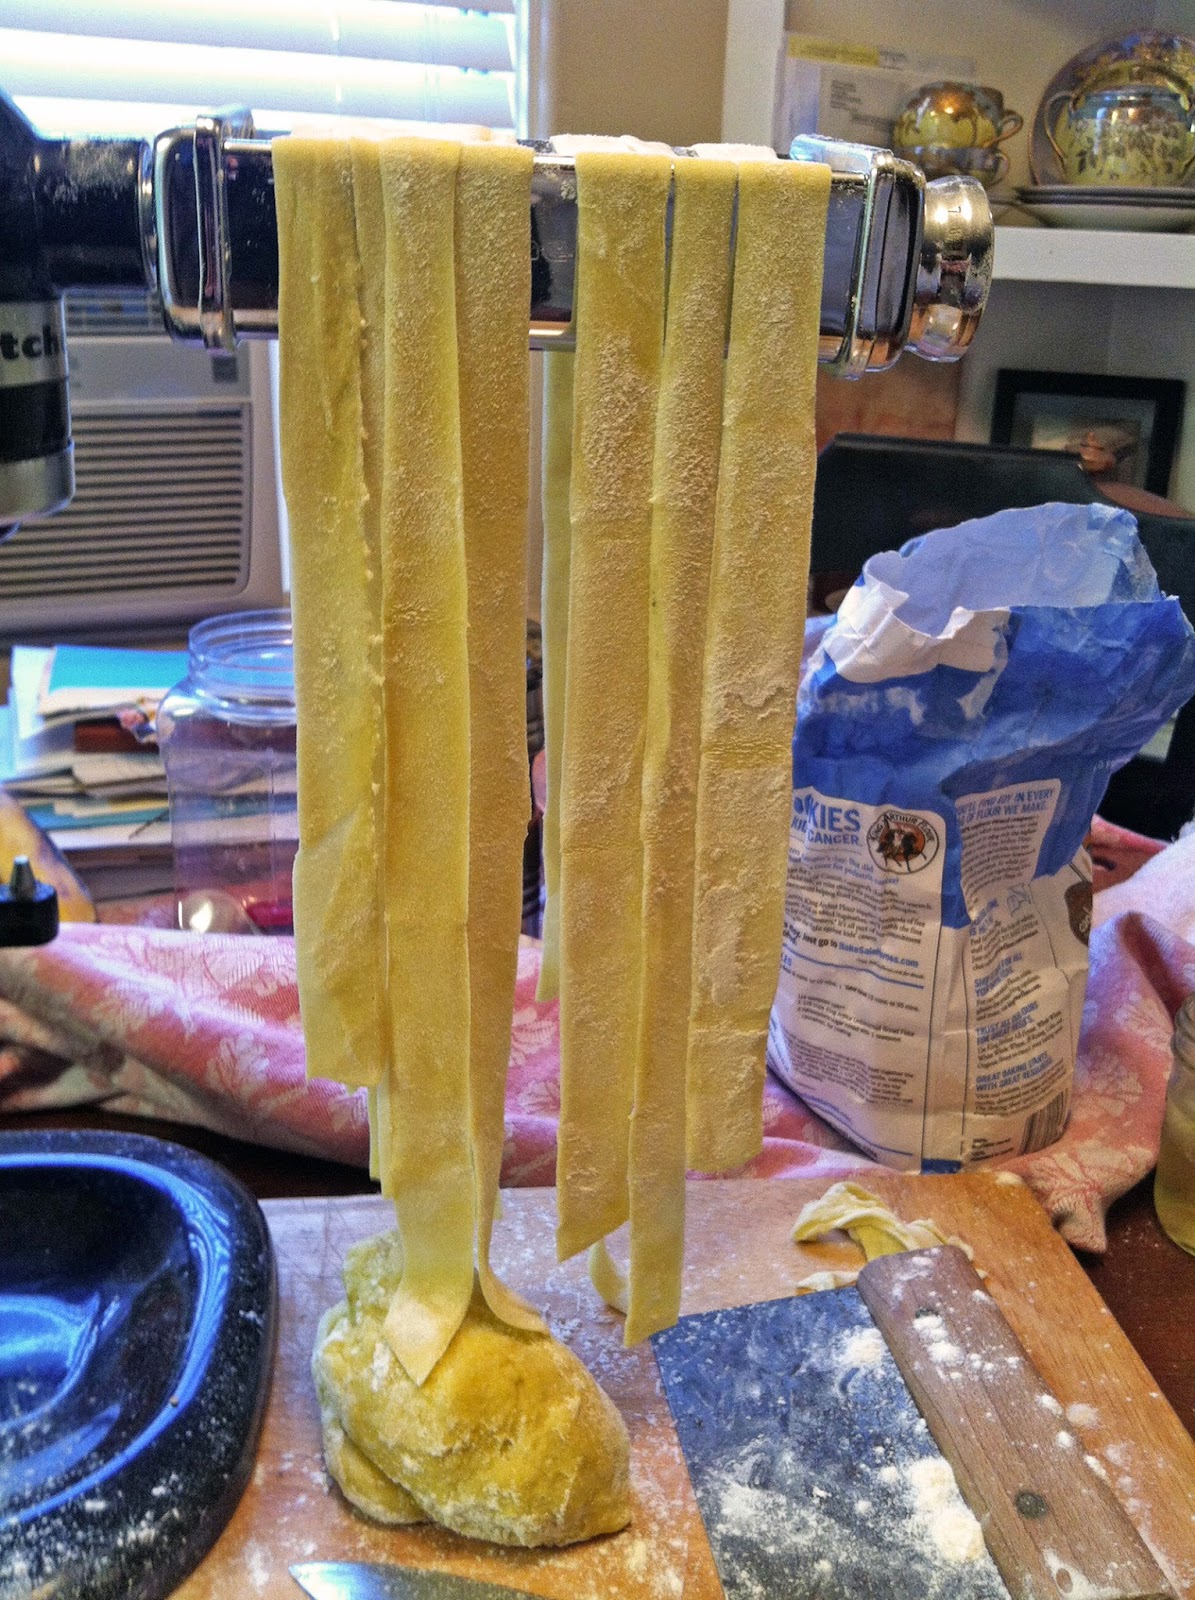
 You can also hang them to dry over a broom stick or with one of the cool pasta drying racks out there. I the end I was very happy with the quality and ease of the pasta. Below are the recipes for the pasta, tomato sauce and my chicken cutlets...


My basic pasta

2 cups of all-purpose flour
1 tsp. salt
2 eggs
water or olive oil

Mix the salt in the flour in the bowl of a mixer, food processor or if going old-school in a mound on a large board. Beat the eggs for a second and add to the flour. With the electric machines, they can be running or not. It takes longer if they are not but the process is actually much closer to the hand-made process. For the old-school method, make a depression in your pile of flour, add the mixed eggs, and then using a fork, slowly combine with a circular motion. It takes practice, and even Mimi, (she never wanted to be "grandma" or any other similar name) agreed that the power tool pasta was as good, or close enough to, the hand-made. Plus it takes a fraction of the time. Finally if the dough still seems a little dry add very small amounts of water or oil until you get a nice smooth dough. If it seems wet, remember a lot of flour gets worked in during the rolling.

Quick Creamy Tomato Sauce

28 oz whole tomatoes
5 cloves garlic, smashed
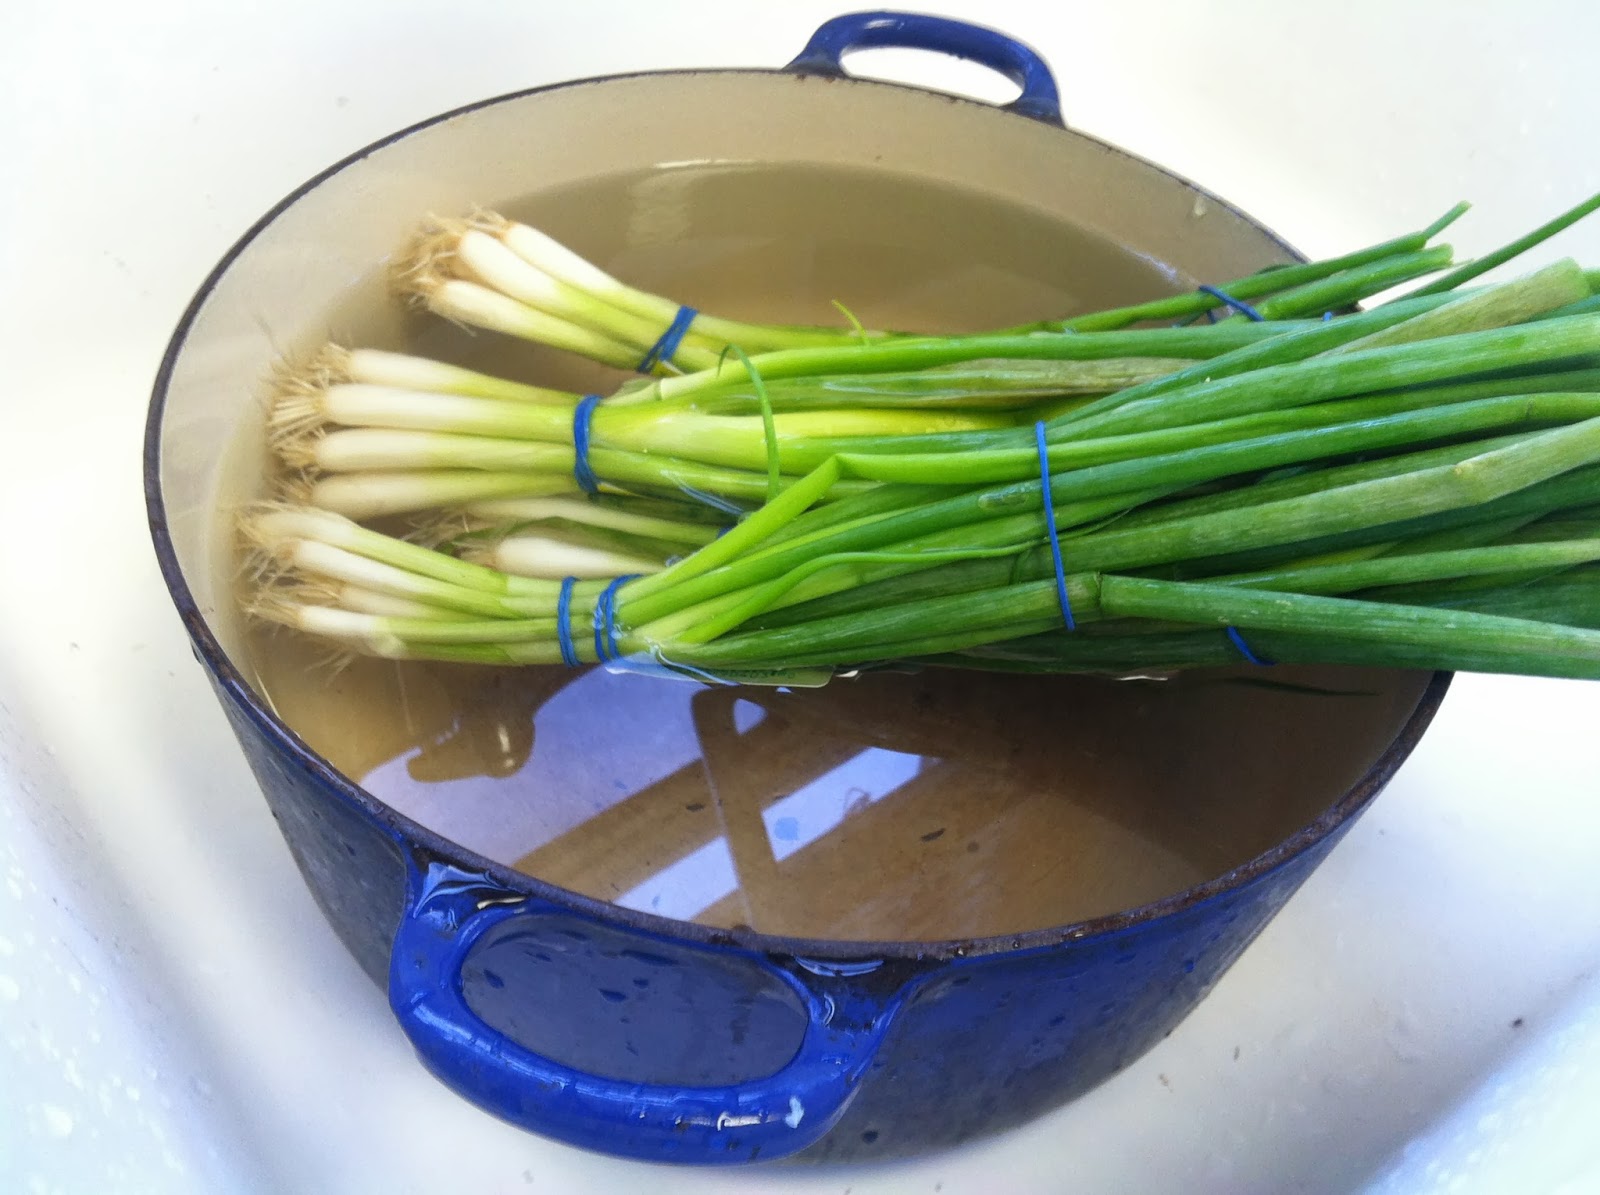
Bunch of scallions, chopped using the white and some green...
Olive oil
1 tsp. fish sauce
1 tsp. balsamic
1/8 cup or a handful, whole leaf mixed fresh herbs
1/2 cup sour cream
Heat oil. Brown garlic and scallions. Stir often so the garlic doesn't burn. Add the whole can of tomatoes with liquid and the fish sauce/balsamic. It will be very watery. Do not despair.
Reduce heat and simmer for 20 mins. Stirring often and breaking up tomatoes with a wooden spoon. The sauce will remain chunky. When the sauce is reduced stir in the sour cream and stir to blend. Finally stir in the herbs and serve.


Chef Jeff's Famous Chicken Cutlets

2 chicken breasts, on the bone*
2 eggs
2 cups flour
2 cups breadcrumbs, panko, unseasoned store bought, or homemade
salt and pepper

*I always try to purchase meat especially chicken on the bone. It is much cheaper by the pound and the skin and bones can be saved to make stock essentially for free!

Remove the skin from the breasts. With a sharp kitchen knife, starting at the pointed end of the breast, cut horizontally (parallel to the cutting board) to get thin 1/2" slices. Repeat until all are done. Spread them out on a plate and prep the eggs and crumbs.

I usually season the crumbs rather than the chicken. Salting the meat tends to draw out moisture, dry the meat out and can lead to the moisture leaking out and making your crust slide off. You can add fresh or dried herbs, garlic powder or whatever other flavorings you like.

Next beat the eggs with a splash of water until well combined. Set up three bowls, one each for the flour, eggs and crumbs. Dip the first cutlet into the flour making sure it's well covered, then the eggs, and then the crumbs. Repeat until all are done and set aside on a large plate in a single layer. At this point I usually wait 10 minutes or so, to allow the crust to set. Next heat a Tbsp of oil in a fry pan, and cook the chicken until crispy and cooked through, about 4 minutes per side depending on thickness. Serve with tomato sauce, pesto or even BBQ sauce.

Monday, March 24, 2014

Chef Jeff's Supper Club: ¡Cuba!

Columbia “1905" Salad-
Fresh Chayote squash for the salad. The salad also included peppers, iceberg lettuce, olives, and tomatoes.


Fried Plantains
Not quite ripe enough plantains... They were tough to peel!
Fricassé de Pollo
A delicious braised chicken stew with onions, peppers, olives, capers, and tomatoes... Great with rice!

Pernil Asado con Mojo
The Mojo marinade under way... Orange and lemon juice combined with green garlic, oregano and allspice. The pork was marinated over night, browned all over then roasted at 300º for an hour.


Torticas de Morón
Traditional shortbread cookies topped with guava marmalade whipped with cream cheese... So delicious!

Saturday, March 8, 2014

Preserves Class Follow-up: Sauerkraut & Kim Chee

Sauerkraut or Kim Chee
1 (2-pound) head napa cabbage, white or red cabbage or a mix

Small head of cauliflower 
1/4 cup sea salt or kosher salt 

Water
1 tablespoon grated garlic (about 5-6 cloves)

or two green garlic stalks


For Kim Chee:
1 teaspoon grated ginger 

1 teaspoon sugar
1 tablespoon grated garlic (about 5-6 cloves)


2-3 tablespoons seafood flavor or water 

1-5 tablespoons Korean red pepper paste (goujung)
8 ounces Korean radish or daikon, peeled and cut into matchsticks

(in this demo I am using the peeled stem of the cauliflower, since I hate to waste it!)
4 scallions, trimmed and cut into 1-inch pieces


Cut the cabbage and cauliflower. Cut the cabbage lengthwise into quarters and remove the cores. Cut each quarter crosswise into 1-inch-wide strips or finer if desired (remember you can cut it smaller to serve, but of course you can't put the pieces back together to make them larger later! Cut the cauliflower into bite size pieces.


Salt the vegetables. Combine the vegetables and salt in a large bowl. Using your hands (gloves optional), massage the salt into the vegetables until it starts to soften a bit (the cauliflower won't soften), then add water to cover the vegetables. Put a plate on top and weigh it down with something heavy, like a jar or can of beans. Let stand for 1-2 hours.


Rinse and drain the vegetables. Rinse the cabbage under cold water 2 times and drain in a colander for 15-20 minutes.

Pack the cabbage into the jar, pressing down on it until the brine rises to cover the vegetables. Leave at least 1-inch of head space. Seal the jar with the lid.


For Kim Chee:
Make the paste. Meanwhile, combine the garlic, ginger, sugar, and seafood flavor (or 3 tablespoons water) in a small bowl and mix to form a smooth paste. Mix in the gochugaru, using 1 tablespoon for mild and up to 5 tablespoons for spicy (I like about 3 1/2 tablespoons).

Combine the vegetables and paste. Gently squeeze any remaining water from the cabbage and return it to the bowl along with the radish, scallions, and seasoning paste.

Mix thoroughly. Using your hands, gently work the paste into the vegetables until they are thoroughly coated. The gloves are optional here but highly recommended to protect your hands from stings, stains, and smells!

Pack the kimchi into the jar. Pack the kimchi into the jar, pressing down on it until the brine rises to cover the vegetables. Leave at least 1-inch of headspace. Seal the jar with the lid.

Let it ferment. Let the jar stand at room temperature for 1-5 days. You may see bubbles inside the jar and brine may seep out of the lid; place a bowl or plate under the jar to help catch any overflow.
Check it daily and refrigerate when ready.

Check the kimchi once a day, pressing down on the vegetables with a clean finger or spoon to keep them submerged under the brine. (This also releases gases produced during fermentation.) Taste a little at this point, too! When the kimchi tastes ripe enough for your liking, transfer the jar to the refrigerator. You may eat it right away, but it's best after another week or two.

Tuesday, November 19, 2013

BONUS Recipes!! Three Rice Salads...


I began making cold rice salads many years ago to go with Summer meals. Rice Salads make great alternatives to either potato or pasta salads. Easy to make ahead, and healthy, these should be a part of every kitchen. They work wonderfully with cookouts and also for more formal sit down meals during the hot weather. These were created for the International Day of Peace festivities at the Center for Living Peace this year. Enjoy!

Korean Black Rice Salad
1 cup Forbidden Black Rice
2-3 cups water
pinch of salt

3/4 cup buttermilk
2 tsp sesame oil
1Tbsp Gochujang (Korean chili bean paste)
3 tsp soy sauce
3 Tbsp grated ginger
2 Tbsp minced garlic
1 bunch green onions, chopped

Bring water to a boil. Add salt and rice. Reduce heat to medium low and cover. Check after 15 minutes. You may need extra water because the black rice is a whole grain like brown rice so will take extra time to cook through. Once the rice is tender (about 20-25 minutes) but not mushy, remove from heat and leave covered for 15 minutes. Place rice in a large bowl and begin the dressing.


Combine remaining ingredients in a small bowl and pour over the warm rice. Allow to cool and serve at room temperature.


http://www.lotusfoods.com/Organic-Forbidden-Rice/p/LOT-10260&c=LotusFoods@Organic

Vietnamese Jade Pearl Green Rice Salad
1 cup Jade Pearl Rice
2 cups water
pinch of salt

2 cups diced green mango
   (regular mangoes that haven't reached the soft ripe stage)
3/4 cup buttermilk
2 Tbsp brown sugar
1 Tbsp Fish sauce
2 Tbsp Sriracha hot sauce
3 Tbsp grated ginger
2 Tbsp minced garlic
1 bunch green onions, chopped
2 bunches cilantro, chopped

Bring water to a boil. Add salt and rice. Reduce heat to medium low and cover. Check after 15 minutes. Once the rice is tender (about 20-25 minutes) but not mushy, remove from heat and leave covered for 15 minutes. Place rice in a large bowl and begin the dressing.


Combine remaining ingredients in a small bowl and pour over the warm rice. Allow to cool and serve at room temperature.
http://www.lotusfoods.com/Organic-Jade-Pearl-Rice/p/LOT-00360&c=LotusFoods@Organic

Sweet Sushi Rice Salad
1 cup sushi rice
2 cups water
pinch of salt

1/4 cup rice vinegar
1 tbsp brown sugar, dissolved in vinegar

2 cups diced green honey dew or orange cantaloupe
2 cups red grapes, cut in half
3/4 cup buttermilk
1/4 cup brown sugar
3 Tbsp grated ginger

Bring water to a boil. Add salt and rice. Reduce heat to medium low and cover. Check after 15 minutes. Once the rice is tender (about 20-25 minutes) but not mushy, remove from heat. Pour the rice seasoning over hot rice and stir well. Leave covered for 15 minutes. Place rice in a large bowl and begin the dressing.


Combine remaining ingredients in a small bowl and pour over the warm rice. Allow to cool and serve at room temperature.

Friday, October 11, 2013

Bacon /// Bacon /// Bacon Wrap up

Last night's Bacon class was a success and there are new converts to the 'Make it yourself" gospel that I am trying to "preach." Sorry if this gets a bit strong for "just" a cooking site, but I have two bees in my bonnet this morning...

First, a word of explanation on why I teach classes like bacon making and cocktail bitter making: yes, there are folks who should probably eat less bacon and other fatty meats and, of course, drink less (myself included.) However one of the best arguments for making it yourself, aside from the very positive aspects of understanding how your food is made and customizing it to your tastes, is that the quality is so much higher than the factory produced crap out there that you are satisfied with less. There will always people who have the time and inclination to be offended by a wholesome cooking class being offered at a center that focuses on bringing people together in a myriad of ways. In my experience few things work better than sharing a meal around a common table. Food as medicine, the the theory of magic "good" foods vs. bad "evil" foods has always driven me nearly around the bend. There are no magic bullets out there, folks. When you make it yourself, you know what you are putting in your body. Rather than bacon pumped full of water (which you pay the same per pound price for as the meat) and god-knows-what-else, yours contains a very few ingredients, all of which are natural and safe...

This leads quickly to the other bee... the Nitrite issue. Much of this concern has very little science to back it up. Again the fat in the bacon is much worse for you than the small, small amount of nitrates left in the finished bacon. There are more nitrates in a kale salad than your Sunday morning bacon. I could ramble on about this but I will give you a quote from cookbook author and food expert, Michael Ruhlman,

"The fact is, most nitrate we consume comes from vegetables. Nitrate we consume coverts to nitrite in our body, which is a anti-microbial agent in our guts. Sodium nitrite in bacon cures the bacon (more info in my safety concerns for charcutepaloozians) and then converts to nitric oxide, so, while I’m not chemist, I have heard others suggest that you’re not actually consuming any nitrite by the time the bacon gets to you.  Again, almost all the nitrate and nitrite in your body comes from veggies.  It’s an anti-oxidant.  Studies are coming out now saying it’s good for the heart.
A study in the Journal of Food Protection put it this way: “Since 93% of ingested nitrite comes from normal metabolic sources, if nitrite caused cancers or was a reproductive toxicant, it would imply that humans have a major design flaw.”

Read the full post here. http://ruhlman.com/2011/05/the-no-nitrites-added-hoax/ It is very enlightening.

Morning after breakfast...


Wednesday, October 9, 2013

On to the Smoker!!

After seven days (the meat should feel firm ), take it out, rinse off all the seasonings under cold water and soak in fresh cold water for 6 hours or overnight. This helps to remove the extra salt but doesn’t remove the flavor from the cure. Drain the meat and pat it dry. If possible allow it to rest for 24 hours in the fridge on a cooling rack for better airflow. This helps the smoke really adhere to the meat.


Next mix up the dry rub for the cooking process. I like to add this to reinforce the flavors and add a gorgeous crust to the finished bacon. It’s important to be very careful with adding salt to this mix or it will be too salty. Spread the dry rub on a cookie sheet (with sides) and dredge the meat. The cookie sheet makes a great transport to the grill.


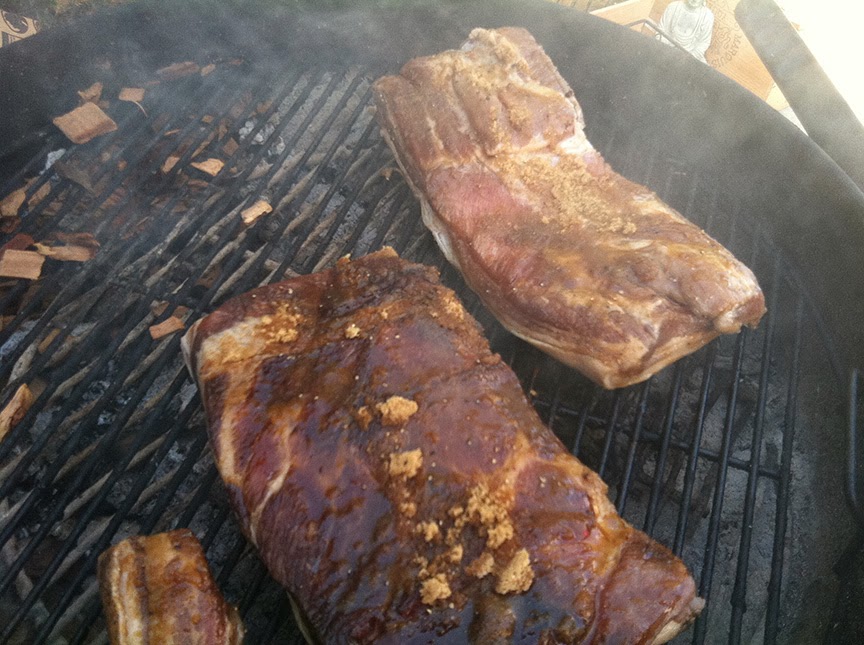
If you have a smoker or a grill, you can smoke the bacon. I use my Weber kettle grill and it works beautifully. Build a small fire with hardwood lump charcoal. When it starts to glow stir the coals so they sit deep in the grill. If you have a small grate in your grill place it TOP of the burning coals. Carefully place the tinfoil packet or the soaked woodchip on the grate,  replace the grill grate and put the bacon on keeping it away from the hottest direct heat. Cover the grill with the vents open, and let smoke for 30 minutes, checking after 15 minutes. Turn and repeat. Check the internal temperature, it should be 150º. If it isn’t and you are happy with the level of smokiness, you can cook the bacon in a 200º oven until its done.


Let it cool and refrigerate it until you’re ready to cook it. 
But I know. You won’t be able to wait. 
So cut off a piece and cook it. Taste it, savor it. 
Congratulations! It’s bacon!


Saturday, October 5, 2013

Bacon Varieties...


For my "Bacon, Bacon, Bacon" class, I've decided on Sicilian and Moroccan as the two "regional flavors." Of course not much bacon is consumed in Morocco, but the spices (tumeric, garlic, sumac, za'atar, and Marrakech Moroccan Spice from Savory Spice (www.savoryspiceshop.com/blends/marr.html) are so good with grilled or smoked meats.

For the Sicilian I used garlic, oregano, dried onion, orange peel and my foraged fennel pollen. I'll do a fennel pollen foraging post later in the year. It's one of my favorite parts of living in SoCal.